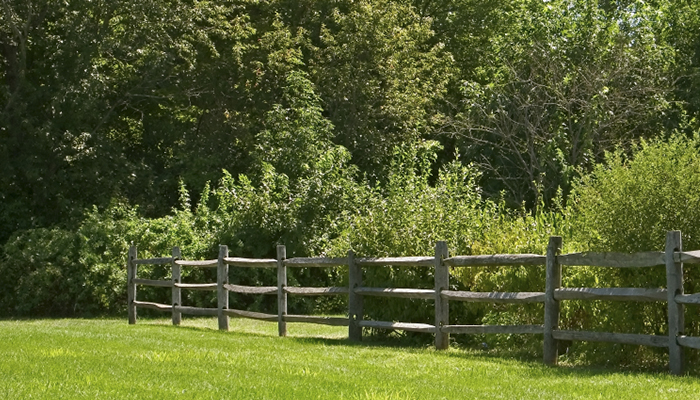
Fencing is very functional. It can be used as a barrier to keep things out or keep things, like a dog or other people, in. Fencing can be decorative, adding a backdrop for landscaping. Of course, it all starts with the support system aka fence posts. The easiest way to put up fence posts is to hire someone to do it for you. But, if you want to be more hands-on and save a ton of money, you can DIY it.
Concrete-Free
Although many swear by the concrete method to ensure stability and strength of the support post on which the fence literally hangs, there is a downside to this method also. Concrete allows water to pool beneath the post in-between the concrete and the ground, thereby causing the post to rot at the base and bring down the support.
To set the post, dig a completely vertical hole (one that does not taper at the bottom) 12 inches wide by 30 inches deep. Carefully place the post equidistant from all sides of the hole. The integrity of the post rests on the stability of the ground around it so the soil must be compressed securely.
To do this, shovel a few inches of soil from the excavation for the post, then tamp down the soil using a piece of wood. Continue adding a few inches of dirt and compacting until the hole is completely filled in. It is important to proceed with filling the whole as described. If the hole is completely filled before tamping, the post will eventually work its way loose. Use some grass around the post to complete the look.
Cement The Deal
Despite the potential problems with using cement at the base of the hole, some prefer this method. Prepare the soil for the post in the same fashion as the post without concrete, digging a 12 x 30 vertical hole and centering the post.
Use a wheelbarrow or other similar shallow metal basin, mix cement with gravel and sand using one part cement and three parts gravel and sand until the concrete forms a paste-type consistency. Once the concrete is mixed, begin by slowly adding the mix around the post while trying to avoid getting any on the post at the sides.
Once the hole is filled, use a trowel to smooth any rough places. Also use the trowel to angle concrete onto the post making a slight slope effect that will allow water to drain towards the soil at the edge of the concrete to prevent ponding at the wood to prevent decay.
As with the non-concrete post, add some dirt and grass to camouflage the hole and allow to cure for a few days before adding rails. Despite the method used, it is critical to dig deep enough, with or without concrete, to give added strength to allow the posts to withstand heavy winds or other forces.


